
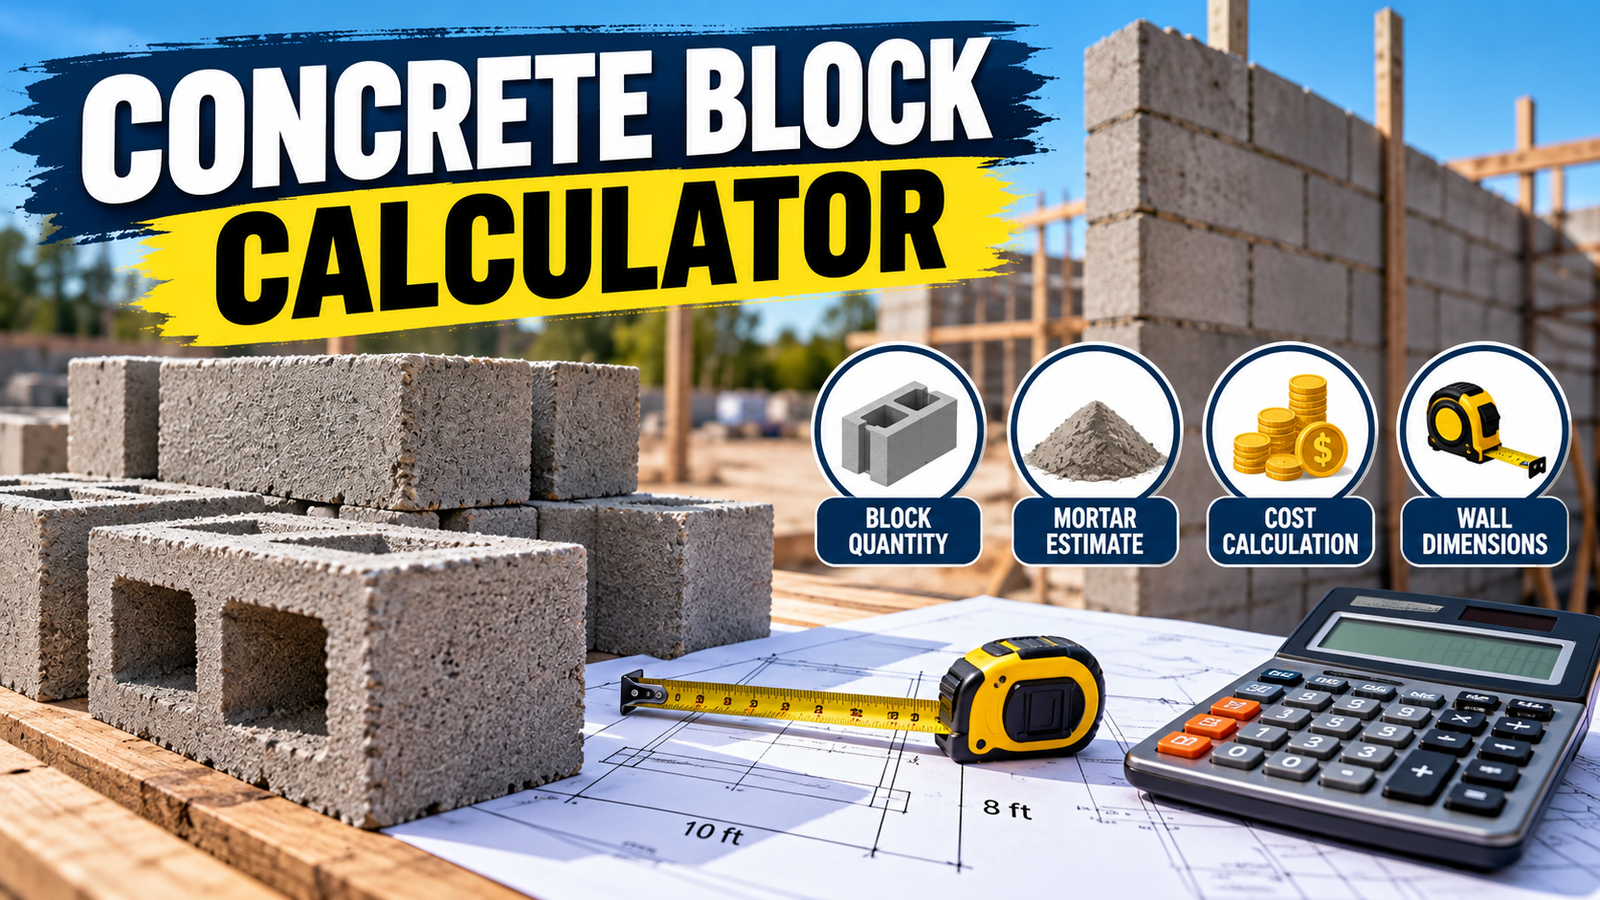
Building a block wall looks straightforward until you get to the ordering stage. That’s usually when people realize they have no idea how many blocks they actually need. Guessing at this number is one of the most common ways wall projects go over budget or stall halfway through.
The good news is that calculating block count is not complicated once you know the process. It comes down to a handful of measurements and some basic division, and once you’ve done it once, every future wall project gets easier.
Understanding Wall Measurements Before You Start
Every block calculation starts with three numbers: the length of the wall, the height you want it to reach, and the size of the block you plan to use. Skipping any one of these leads to guesswork later, so it’s worth taking the time to measure carefully before you calculate anything.
Measure the length of the wall in feet, including any corners or turns. If your wall has multiple straight sections, measure each one separately and add the totals together at the end rather than trying to estimate the whole thing as one number. This is especially important for L-shaped or U-shaped wall layouts, where a single overall measurement can easily be off by several feet.
Next, decide on your wall height. Retaining walls and privacy walls are often built taller than garden borders, so this number depends entirely on what the wall is for. Write your height down in feet as well, converting from inches if needed, since mixing units later in the calculation is one of the most common sources of error.
Calculating the Number of Blocks You Need
Once you have your wall’s length and height, multiply them together to get the total square footage of the wall face. A wall that is 25 feet long and 4 feet tall comes out to 100 square feet, which is the number you’ll divide by your block’s coverage area.
Standard concrete blocks measure about 16 inches long by 8 inches tall, which converts to roughly 1.33 feet by 0.67 feet. Multiplying those together gives you approximately 0.89 square feet of coverage per block. Dividing your wall’s total square footage by that number gives you your base block count. In the 100 square foot example, dividing by 0.89 comes out to about 113 blocks before accounting for waste or special units.
Corners, wall caps, and any half blocks needed to finish a row cleanly should be counted separately from this base number. Most suppliers sell corner and cap units specifically designed for finishing a wall, and leaving them out of your order is a common reason people end up short right at the final stage of a project. It’s also smart to add a waste factor of 5 to 10 percent on top of your total, since blocks crack during handling and cuts don’t always come out perfectly clean.
Running these numbers by hand is a good habit, but double checking them against a dedicated concrete block calculator takes just a minute and catches mistakes before they turn into an incomplete order. It’s a simple way to confirm your math without redoing the whole calculation from scratch.
If your project also involves mortar for setting the blocks or a mix for filling core gaps, it helps to plan for that material separately from the blocks themselves. For larger concrete projects, a cement calculator can help estimate the materials needed before purchasing supplies, so you’re not left short on mix halfway through a row.
Planning for Base Material and Footing Depth
A block wall is only as good as what it sits on. Before you even get to counting blocks, it helps to think about the base layer underneath the wall, since a poorly prepared foundation can cause the whole structure to shift or lean over time. Most block walls need a compacted gravel base, and taller walls often require a poured concrete footing beneath that base for added stability.
Figuring out how much concrete a footing will need is its own calculation, separate from the blocks themselves. If your project includes a poured footing, it’s worth running those numbers through a concrete wall calculator as well, since footing depth and width both affect how much material you’ll need to order alongside your blocks.
Budgeting for a project like this also means looking at more than just the block count. Delivery fees, base material, and any tools you don’t already own all add to the final cost. Running a rough number through a concrete cost calculator before you start shopping gives you a clearer picture of the full project budget, not just the block total.
Common Mistakes That Throw Off Block Counts
One of the most frequent errors is forgetting to convert block dimensions from inches to feet before calculating coverage area. Mixing units between the wall measurements and the block size produces a number that looks reasonable but is actually far off from what the project needs.
Another common mistake is measuring only the outer perimeter of an L-shaped or U-shaped wall instead of every individual section. Wall layouts with turns need each straight run measured on its own, since a single perimeter number often misses overlap at the corners.
Forgetting about openings is another issue that comes up often. If your wall includes a gate, a gap for stairs, or a section that won’t be built up to full height, that area needs to be subtracted from your total square footage before you calculate block count. Leaving it in leads to ordering more material than the project actually requires.
Tips for a Smoother Wall Project
Order your blocks with a small buffer built in, rather than the exact number your calculation produces. Even careful measurements can be off by a block or two once construction actually starts, and having a couple of extras on hand keeps the project moving instead of stalling over a shortage.
Check with your local supplier about lead times before you finalize your measurements. Some block styles and colors are made in batches, and running out mid-project can mean waiting weeks for a matching restock if your original supplier has moved on to a different production run.
If your wall is taller than a couple of feet, it’s worth checking local building codes before you begin. Many areas have height limits or engineering requirements for retaining walls above a certain point, and confirming this ahead of time avoids problems with permits or inspections later in the project.
Does a Block Wall Add Value to a Property?
For anyone looking at this project through an investment lens rather than just a weekend DIY job, it’s worth asking whether a block wall actually pays for itself. Retaining walls and privacy walls both fall into the category of improvements that buyers notice, especially on properties with sloped yards or limited privacy from neighboring lots. A well-built wall can make a listing photo stand out, and it solves a problem that would otherwise show up as a red flag during a buyer’s walkthrough.
That said, not every wall adds equal value. A retaining wall that fixes a drainage or erosion problem tends to return more of its cost than a purely decorative garden border, since it’s solving something a home inspector would otherwise flag. Looking into which home improvements actually return their cost at resale is worth doing before committing a large budget to any exterior project, block walls included.
Financing also comes into play on larger jobs. A full retaining wall system with footings, drainage, and finished caps can run into the thousands once labor is factored in alongside material. Understanding financing options for larger property improvements ahead of time helps avoid a project stalling halfway through because the budget wasn’t planned with the full scope in mind, including delivery, labor, and any equipment rental needed to move and set blocks efficiently.
Calculating concrete blocks for a wall project comes down to careful measuring, a bit of division, and accounting for the extras that come with any real build. Once you know your wall’s square footage and your block’s coverage area, the math itself takes only a few minutes. Take the time to measure twice, plan for your base and footing needs, and build in a small buffer for waste, and your project will go a lot smoother from the first block to the last.