
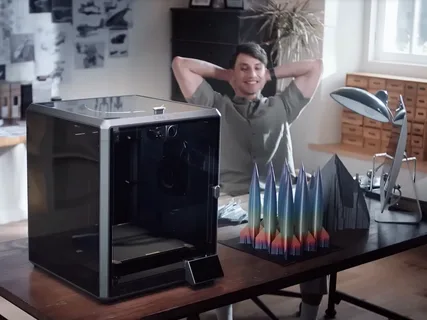
3D printing often produces visible layer lines, especially on flat top surfaces. These imperfections can reduce the visual quality of prints and sometimes even affect functionality in precision models. One of the most effective solutions offered in modern slicing software is Creality Print Ironing, a feature designed to smooth out the top layers and create a near-polished finish.
This article explains how ironing works, why it matters, and how you can use it effectively in Creality Print to significantly reduce layer lines and improve the final appearance of your 3D prints.
Understanding Layer Lines in 3D Printing
Layer lines are a natural result of FDM (Fused Deposition Modeling) printing, where material is deposited layer by layer. Even at very fine layer heights, slight ridges remain visible, especially on horizontal surfaces. These lines become more noticeable depending on lighting, material type, and print settings.
The top surface is usually the most visible part of a print, making it the area where imperfections stand out the most. This is where finishing techniques like sanding, acetone smoothing, or software-based solutions like ironing become essential for achieving professional results.
What Is Creality Print Ironing?
Creality Print Ironing is a slicer feature that re-traces the top surface of a 3D print with a very small amount of filament and a slow, controlled motion. Instead of extruding a full line of material, the nozzle lightly “irons” the surface, filling small gaps and flattening ridges.
This process mimics the effect of an actual clothing iron, where heat and pressure smooth out fabric wrinkles. In 3D printing, the heated nozzle gently re-melts the top layer, distributing plastic more evenly and reducing visible imperfections without adding extra height.
How Ironing Improves Surface Quality
The primary benefit of ironing is the dramatic improvement in surface smoothness. By moving the nozzle over the top layer without significant extrusion, it helps level out minor inconsistencies caused by extrusion variations or layer stepping.
Additionally, ironing reduces micro-gaps between extrusion lines. These gaps are often responsible for the rough texture seen on flat surfaces. With creality print ironing, the filament is slightly reflowed into these gaps, resulting in a more continuous and polished finish.
Ideal Settings for Effective Ironing
To get the best results from ironing, proper settings are essential. In Creality Print, users can adjust ironing flow, speed, and pattern. A slower speed usually produces better surface quality, while a lower flow rate ensures the nozzle does not over-extrude material on the top layer.
It is also important to use ironing selectively. Applying it only to top surfaces or flat areas prevents unnecessary print time increases. Fine-tuning these settings allows users to balance print speed and quality while maximizing the benefits of creality print ironing.
When to Use Creality Print Ironing
Ironing is most effective on flat or slightly curved top surfaces where layer lines are most visible. It is commonly used in decorative models, signage, display pieces, and functional parts where appearance matters. It is less useful for highly textured surfaces or vertical walls.
However, not every print requires ironing. For structural parts where strength is more important than appearance, disabling ironing can save time. Knowing when to apply this feature ensures you get the best performance without unnecessary print delays.
Limitations of Ironing in 3D Printing
While ironing significantly improves surface quality, it is not a perfect solution. It does not remove deep layer lines or fix poor first-layer calibration issues. If the base print is inconsistent, ironing can only provide limited improvement.
Another limitation is increased print time. Since the nozzle revisits top surfaces at a slower speed, prints may take longer to complete. Despite this, many users find the improved finish worth the extra time when using creality print ironing for high-quality results.
Conclusion
Creality Print Ironing is a powerful tool for improving the visual quality of 3D printed parts. By gently smoothing top surfaces and reducing visible layer lines, it helps users achieve a cleaner, more professional finish without additional post-processing.
Although it has some limitations and slightly increases print time, the benefits often outweigh the drawbacks for aesthetic or display-focused prints. When used correctly, creality print ironing can make a significant difference in the final appearance of your 3D models, turning rough layered surfaces into smooth, polished results.
